Laptop Bag Sewing Pattern

Description
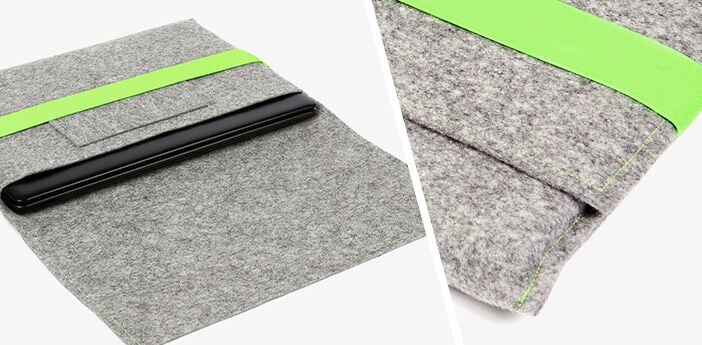
Do you want to make sure your laptop is always protected while you're out and about? Do you want to sew your own laptop bag that also has a stylish look? Then these sewing instructions are just what you're looking for! This laptop bag is extremely easy to sew, making it suitable for sewing beginners too! The great thing about it is that it is made from felt, so there's no need to trim the edges. Simply choose your preferred felt fabric in our shop, and you can get started! If you want, you can also sew a small compartment for your laptop cable into the bag. Simply follow our sewing instructions and conjure up your own laptop bag!
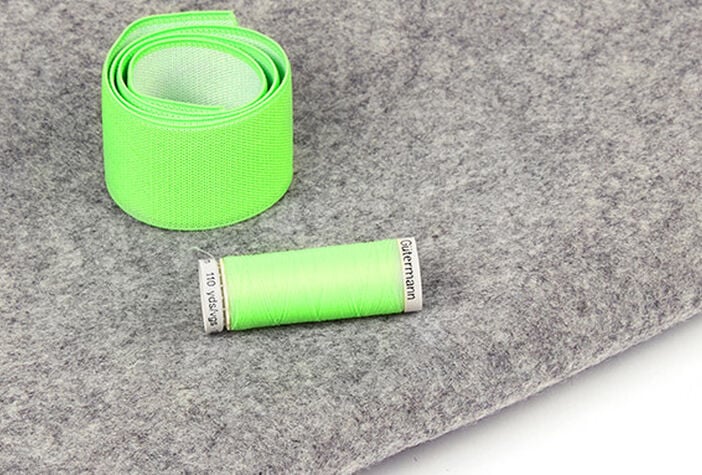
You'll Need:

Cut out
Firstly, measure the length, width and height of the laptop you want to store in your bag. Multiply the width measurement by three. Add the height of the laptop to the length, and then add another 2cm. For example:
- If your laptop has the following dimensions): Length 32cm, Width 23cm, Height 2.5cm
- (Width x 3) x (Length + Height + 2cm) (23cm x 3) x (32cm + 2.5cm + 2cm)
- You would need to cut out the following: 69cm x 36.5cm
Instructions:
- Small pouch - Depending on the size of your laptop, you can also sew a small pouch for accessories or your charging cable. This can be cut to dimensions of 18cm x 10cm, for example. Sew them directly from the right onto one end of the felt you have cut out. The great thing: there's no need to trim the edges.
- Cut out your elasticated band - Place the elasticated band along the length of your bag and cut it, including a seam allowance of approx. 1.5cm for each side.
- Sew your laptop bag - Fold the piece of felt around your laptop (the bag should completely enclose the laptop) to create a bag with a flap, and mark the position. Insert the ends of the elasticated band to approx. the middle of the bag between the two felt layers. Now begin sewing at one of the lower edges of the bag with a straight stitch. When you reach the height of the elasticated band, briefly fold it upwards and sew the two felt layers (between which the elasticated band sits) together.
- (Caution: if you sew it on from above, as can be seen in the tutorial, the flap won't fit so well under the elasticated band later on). Sew all the way around once, giving the flap a decorative stitch and until you arrive at the other lower edge of the bag. Your new laptop bag is now complete!
