Make your own bias band
Description
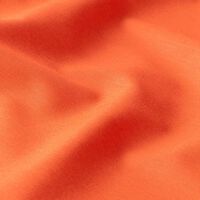
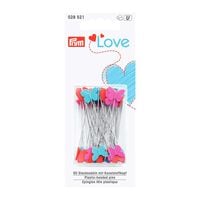
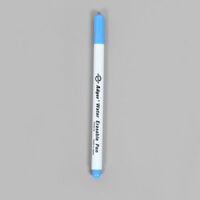
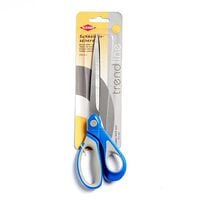
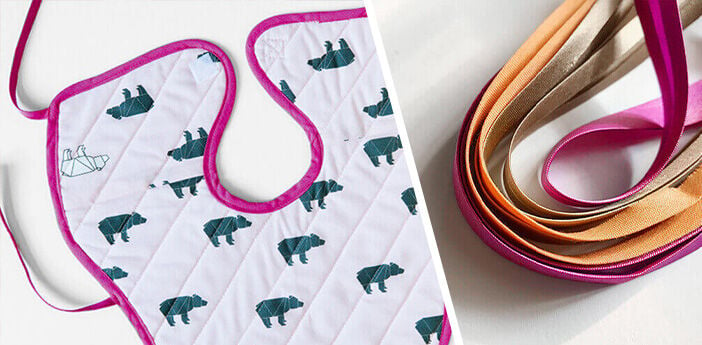
Bias binding is wonderful for finishing off the borders and edges of your sewing projects and adding that extra special touch. Do you want to sew something, but you've run out of bias binding? Or you can't find the right bias binding to go with your project? You can make your own bias binding in just a few steps. All you need is some fabric in the right colour, a pair of scissors or a rotary cutter and a pencil to mark the fabric.
You'll Need:
Step 1
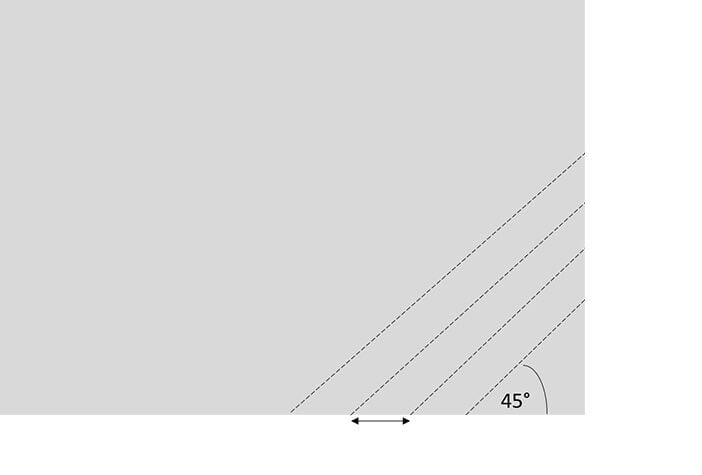
Cut a long strip from a piece of cotton fabric. The piece should be twice as wide as the finished bias binding. If you want to use the bias binding as trimming on a curved edge, you should cut the fabric at a 45° angle to the selvedge. This gives the bias binding additional stretch and makes it more flexible.
Step 2
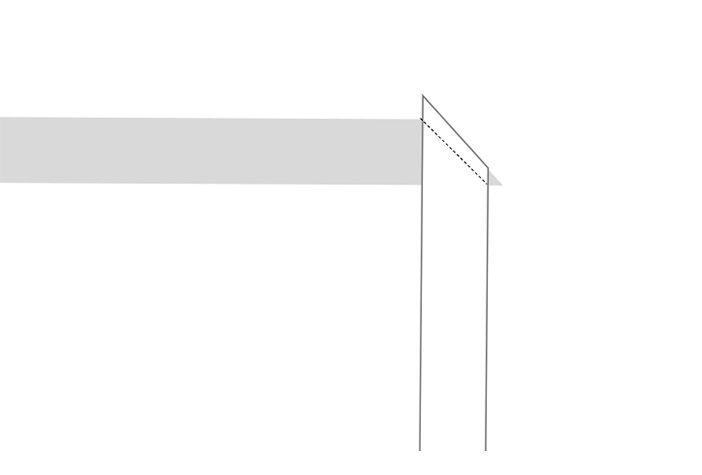
If you need more bias binding than you can cut from a single length of fabric, just sew several strips together at an angle.
Step 3
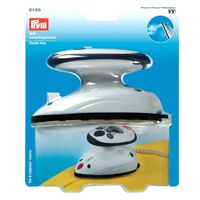
Place the fabric strip on an ironing board with the right side facing down. Fold along the longest edge and iron firmly. Then fold the outer edges into the middle and iron again.

