Maritime bag
Description
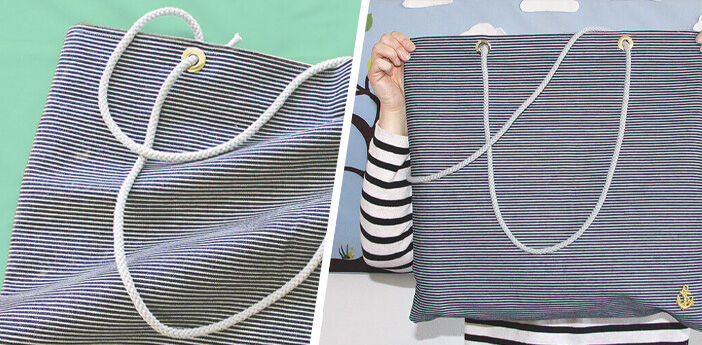
Ahoy! It’s finally getting warmer and the water’s calling our name. A nautical themed bag to carry your sunglasses, phone, and summer snacks would be the perfect accessory. Learn how to whip up a quick and easy tote below!
You'll Need:
Cutting Out
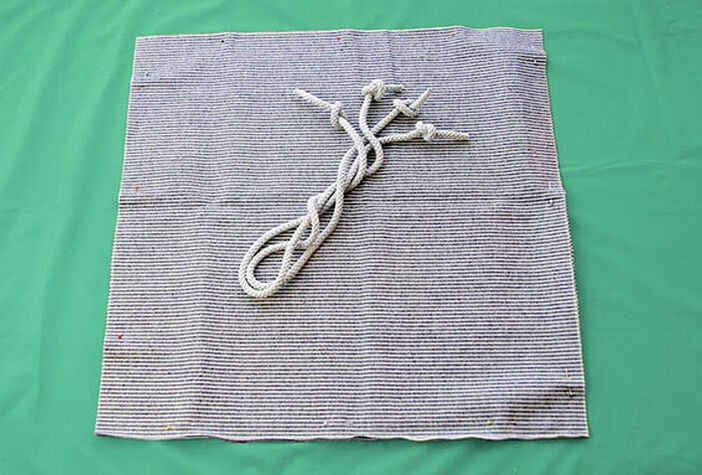
Fold your fabric with right-sides touching. Trace out your desired size (e.g. a square measuring 50x50cm) using tailors chalk - one edge should be the folded edge of the fabric. This will be the bottom of your bag. Cut your cord in half (or order two 1-meter long pieces). You can seal the ends of cord using sellotape or glue.
Sewing The Bag
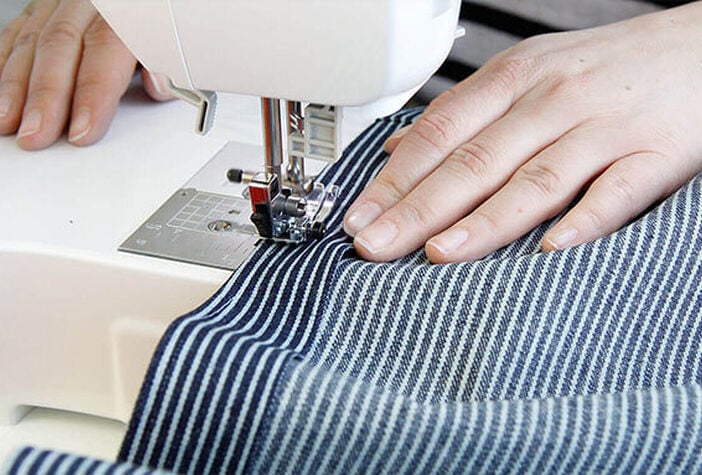
With your fabric folded in half (right-sides together), stitch the side seams together with a seam allowance of 1cm. Finish the raw edges with a zigzag stitch to prevent fraying. Only sew together the side seams, leave the top edge open. Fold the fabric around the open top edge in on itself 2-3cm (right side to wrong side), press into place, and top-stitch.
Adding The Eyelets & Cord
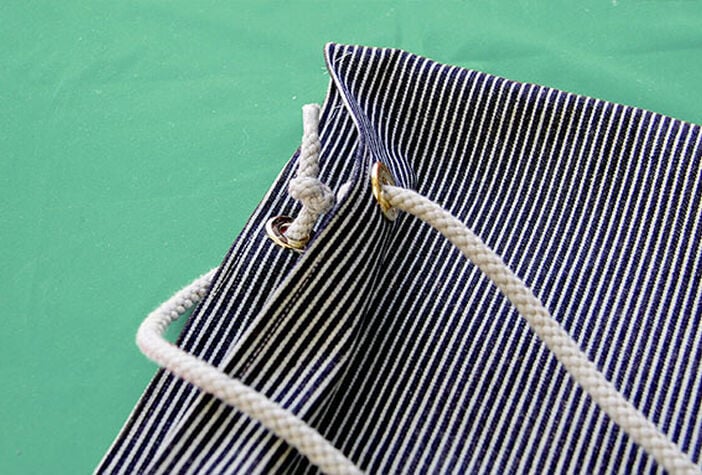
Cut or punch out holes in the top edges of your bad (where the fabric is doubled) to place your eyelets. There should be two eyelets per side. Pull your cords through the eyelets and knot the cord to prevent it from falling off the bag.
Adding the Appliqué
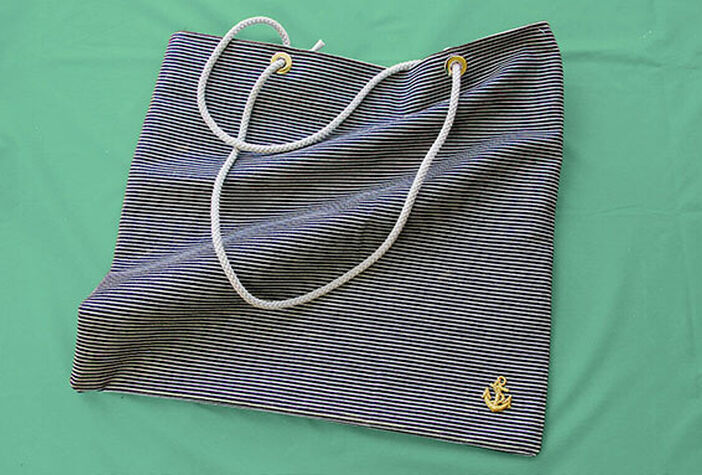
Iron or glue your appliqué in your desired spot, and that’s it! Let’s head to the beach!
Everything you’ll need for your next Maritime Look


