Sewing instructions for Bum Bag
Description
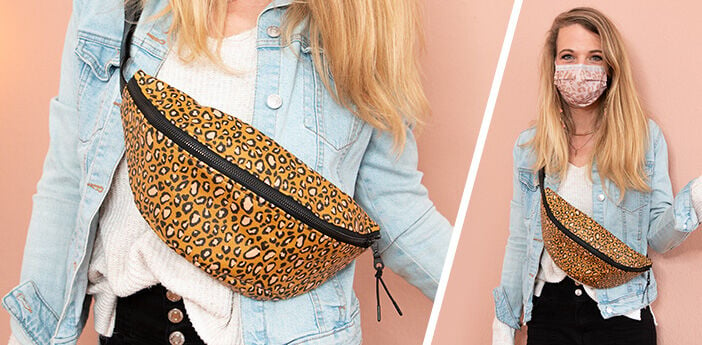
Let's make a bum bag! Bum bags are super practical and a fun fabric will turn them into a fashion statement! Durable fabrics are best for this type of bag, as they see a lot of wear and tear. We've chosen an imitation leather for our example.
The finished bum bag is approximately 35cm wide, 17cm high, and 15cm deep.
Top Tip: Use fabric clips when working with imitation leather or some waterproof fabrics, as regular pins will leave permanent holes in the material.
Print out the pattern and cut out the individual pattern pieces. The control square is 3x3cm and is used to confirm the printed pattern is the correct scale.
Transfer the pattern pieces to your fabrics (the seam allowance is already included in the pattern).
You'll need:
- 1x outer fabric for each pattern piece
- 1x lining fabric for each pattern piece.
- If you want to reinforce your outer fabric, cut an additional 1 Vlieseline piece for each pattern piece.
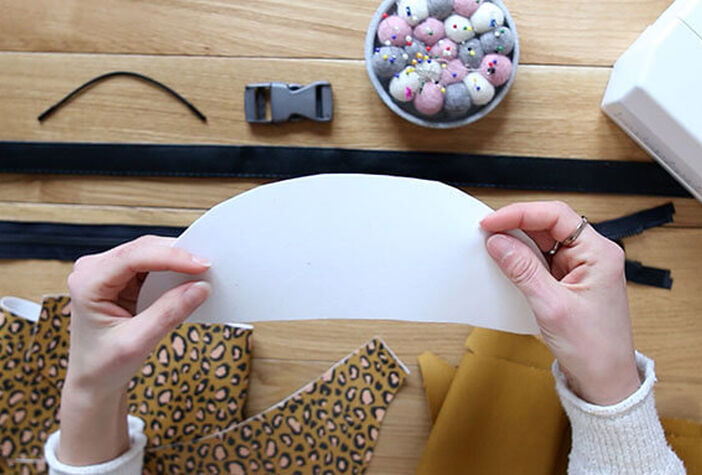
Reinforce the outer fabric
Bags need to withstand a lot of wear and tear and still hold their shape, so it's best to reinforce your outer fabric with some kind of interlining like Vlieseline.
Note: if using imitation leather or some waterproof fabrics, do a test patch prior to your final pattern piece, as some fabrics will melt under the iron necessary to adhere the Vlieseline. In this case simply reinforce your lining layer instead.
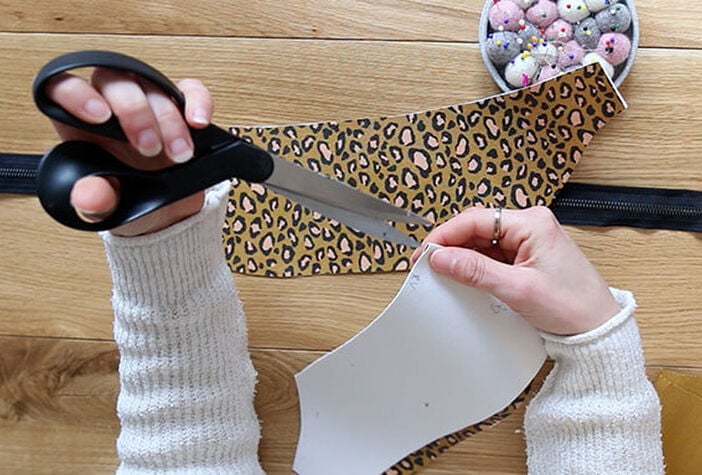
Mark the Notches
Mark the centre of each piece with a small notch to act as a guidance mark when layering multiple pattern pieces.
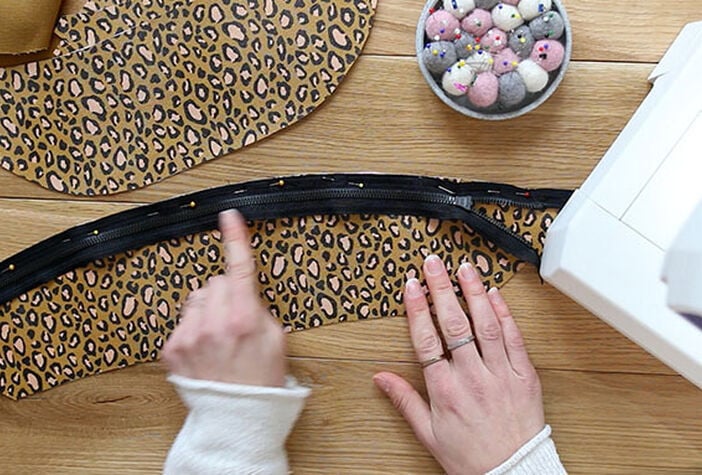
Attaching the front zipper
Place the zip right sides together on the lower curve of pattern piece B (outer fabric). Pin the zip in place and secure with a straight stitch. If you're feeling advanced, you can sew on the lining (see next step) directly. You can use a zip foot or turn the needle of the normal presser foot all the way to the left.
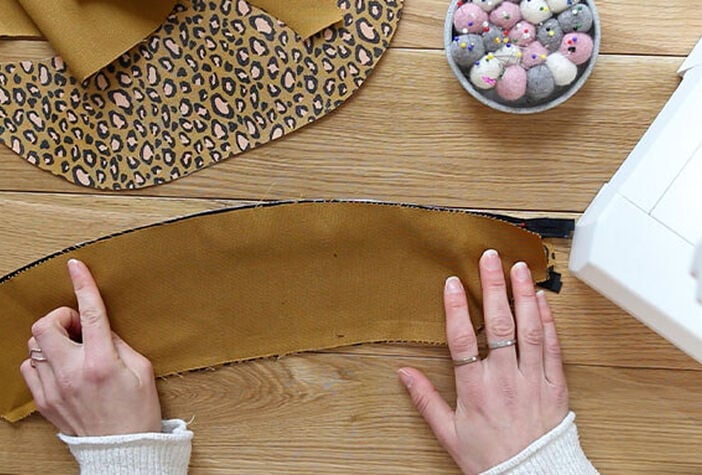
Attaching the Front Lining
Place pattern piece B in your lining fabric right sides together on the outer fabric with the zip. Fix all layers again with a straight stitch.
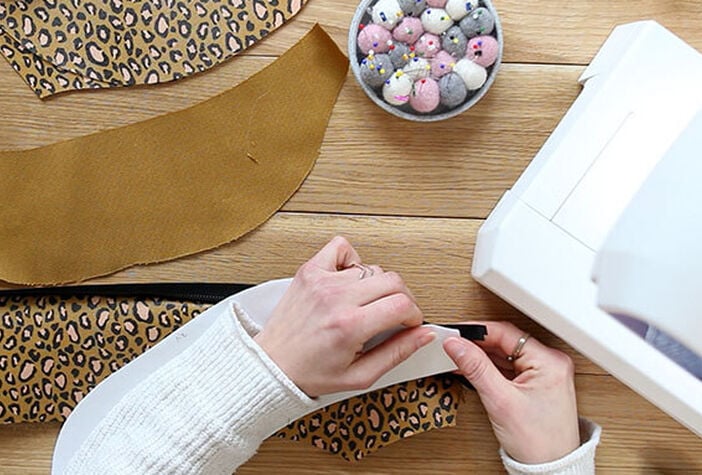
Attach the zip to the upper side (1)
Take pattern piece A in the outer fabric and place it with the bottom curve right sides together on the other side of the zip. If it helps you, you can open the zip for this. Make sure that the edges of pattern pieces A and B are at the same height.
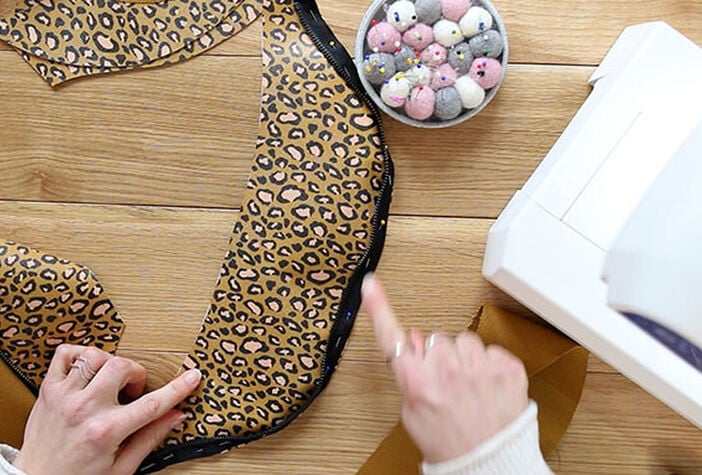
Attach the zip to the upper side (2)
Fix the second side of the zip with a straight stitch as well. Optionally, you can also sew the inner fabric directly onto the zipper (see next step).
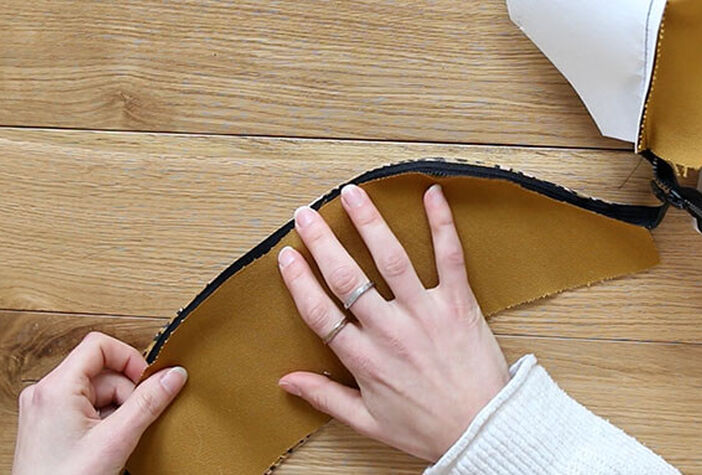
Attaching the Upper Lining
Take pattern piece A in your linung fabric and lay it right sides together on outer fabric A. The zip is in between. Sew all layers in place with a straight stitch.
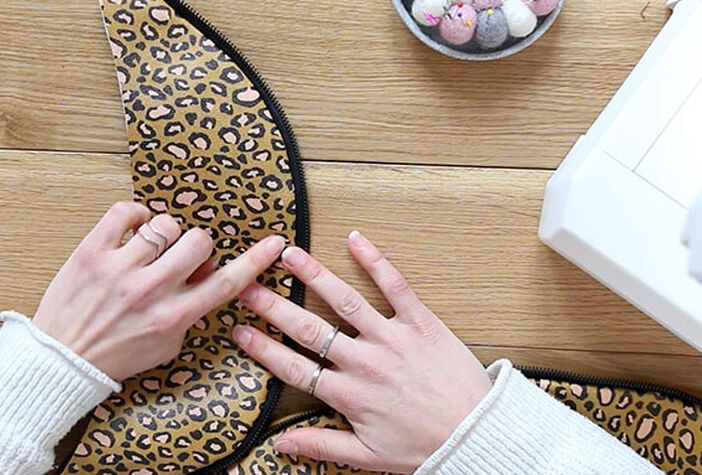
Topstitching the Zipper
Topstitch the zip on the front of the bag. If you've chosen faux leather, it is best to use a Teflon foot. Do this on both sides of the zip.
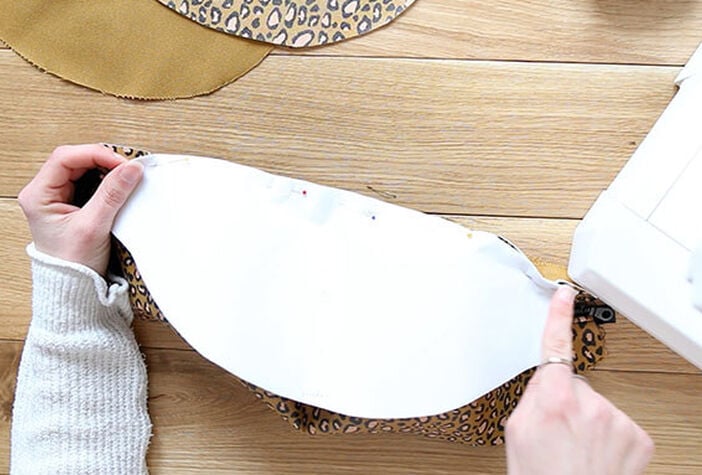
Attaching the Back
Now take pattern piece D in your outer fabric and place it with the upper edge right sides together on pattern piece A. For the central positioning you can use the notches you made at the beginning. Close this edge with a straight stitch.
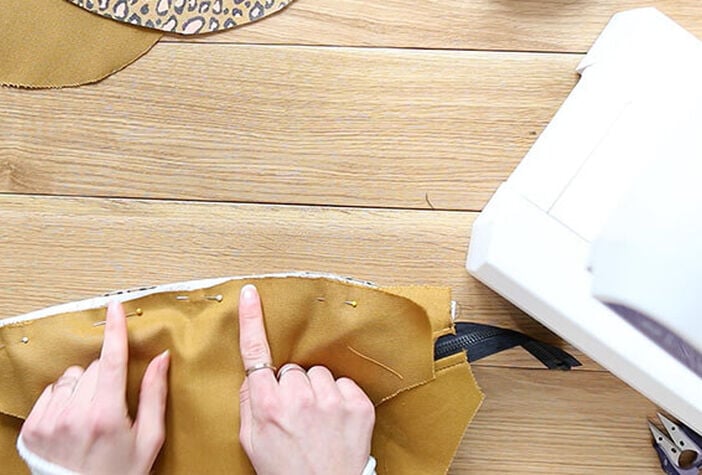
Attaching the Inner Lining
Do the same with pattern piece D in your lining fabric. With right sides together, pin piece D to piece A of lining. Make sure to leave a turnaround opening here. Close the edge with a straight stitch (except for the turning opening, of course).
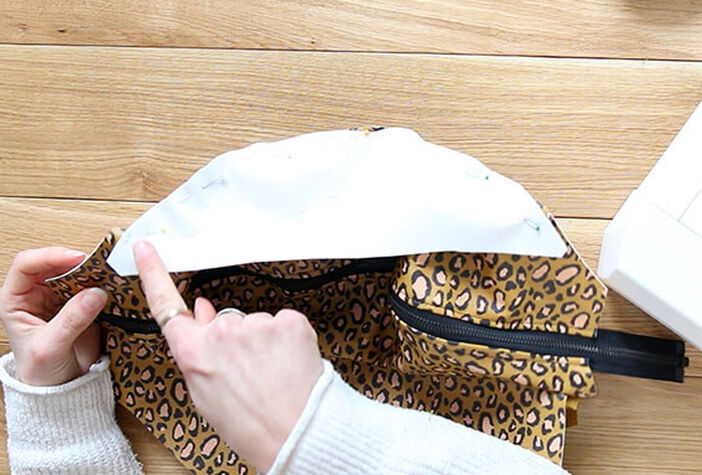
Attaching the Bottom of the Bag
Take pattern piece C in your outer fabric and place it right sides together on pattern piece B (also outer fabric). Join the two curves together. Close this edge with a straight stitch.
Do the same for the bottom in your lining fabric.
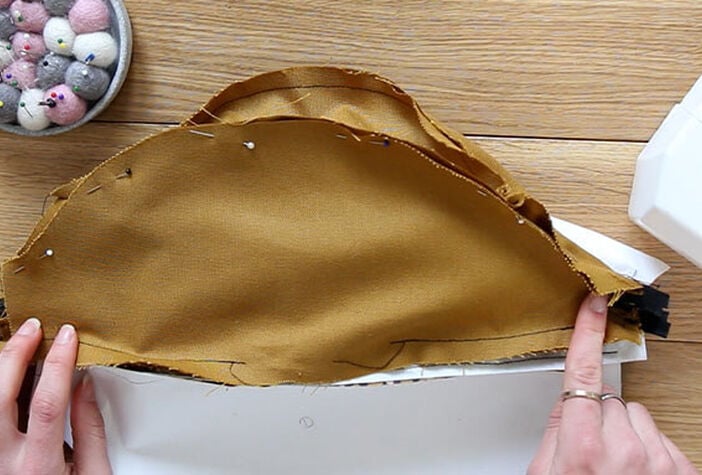
Closing the Pocket Pouch
Pin the still open edges of the inner bag of your fanny pack together and close them with a straight stitch.
Before you do the same with the outer bag, be sure to open the zip, otherwise the bag will not turn correctly. Then pin the still open edges of the outer fabric together and secure them with a straight stitch.
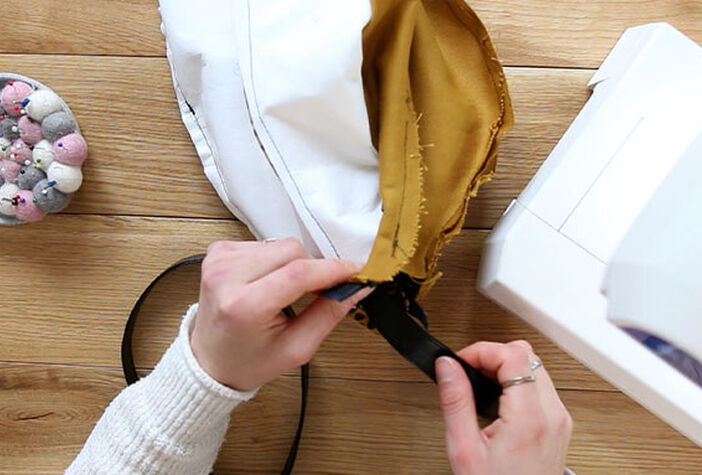
Attaching the Webbing
Cut the webbing into 70cm and 30cm pieces and put one piece through each of the openings on the sides of the bag. A small piece of the webbing should still stick out.
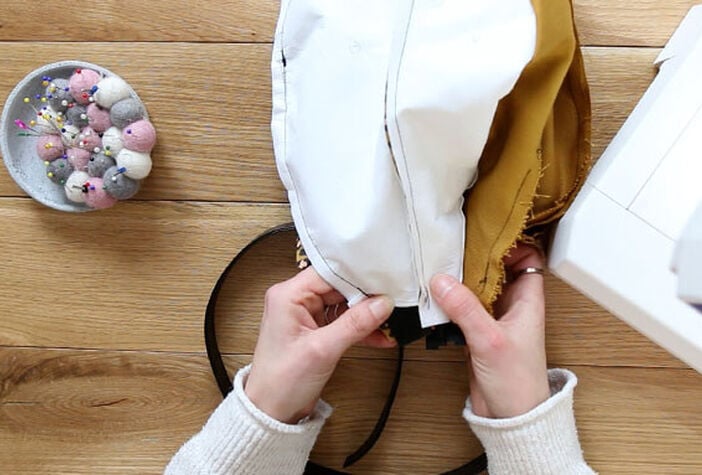
Closing the Sides
Flatten all layers of fabric and close both sides with a straight stitch. The webbing is sewn in as well.
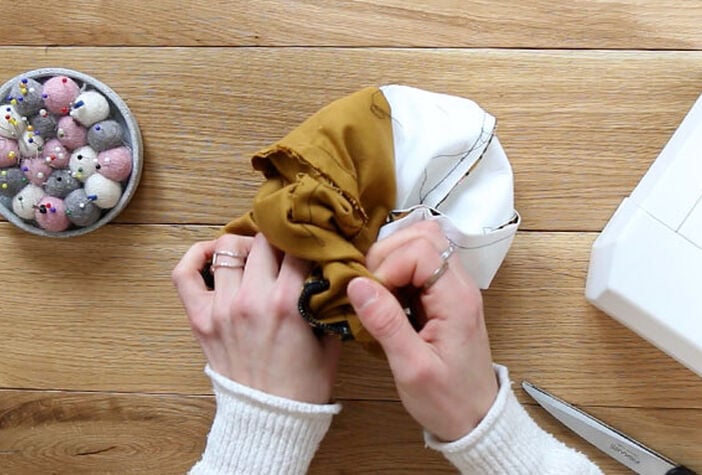
Turning the Bag
Turn your bag through the opening. Close the zip once and check that everything fits as it should. Then you can close the opening by hand or with the sewing machine.
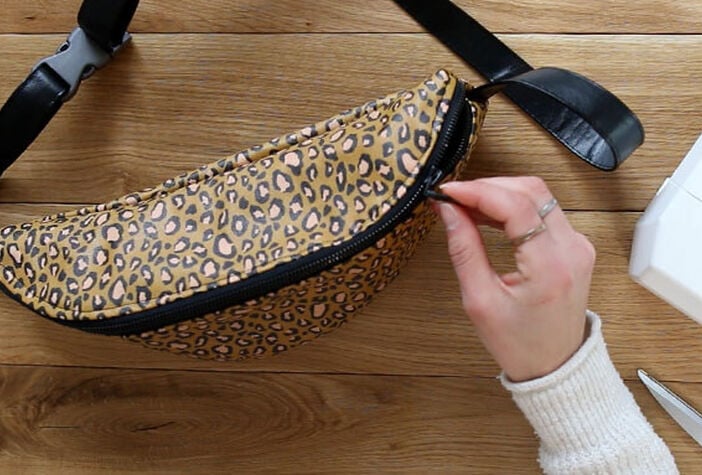
Attaching the Fasteners
Finally, attach the buckle to the webbing and attach the drawstring to the zipper. If you like, you can fix the webbing on the short side with a seam so that the webbing no longer hangs down.


