Sewing Tutorial - Gym bag
You'll Need:
Cutting Out
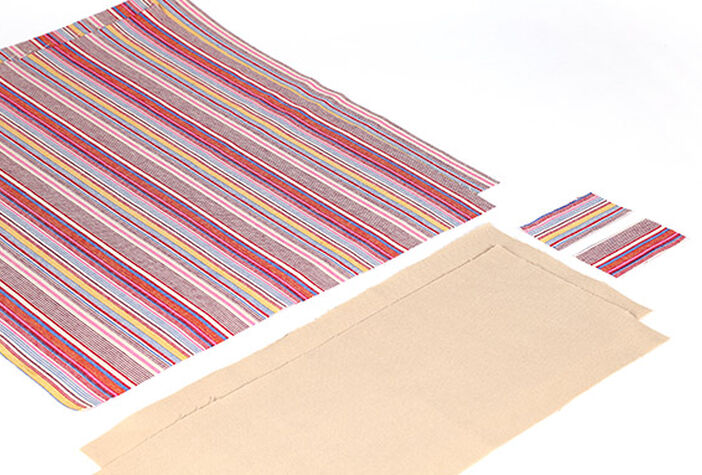
Cut the following (seam allowances are already included):
From your patterned fabric:
- For the main body: x2 measuring 38cm by 37cm
- For the loops: x2 measuring 4cm by 8cm
From your plain coloured fabric:
- Lower body: x3 small pieces measuring 38cm by 16cm
Overlocking / Seam Finishing
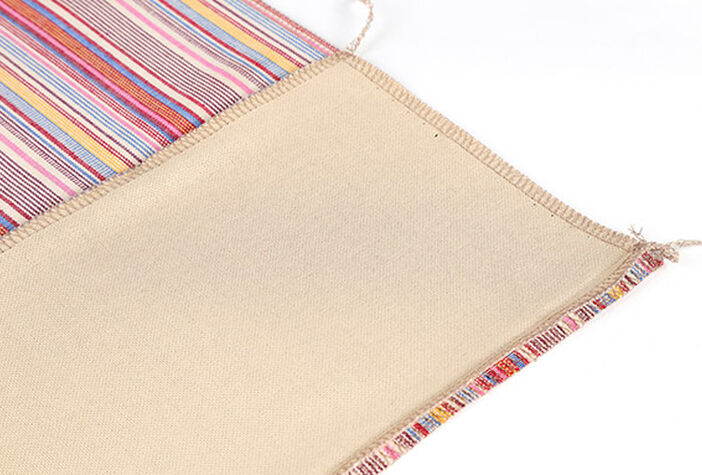
Finish the raw edges of each piece of fabric prior to sewing together. The easiest option is with an overlock machine, however if you don't have access to one, a simple zig-zag stitch on your sewing machine works equally well.
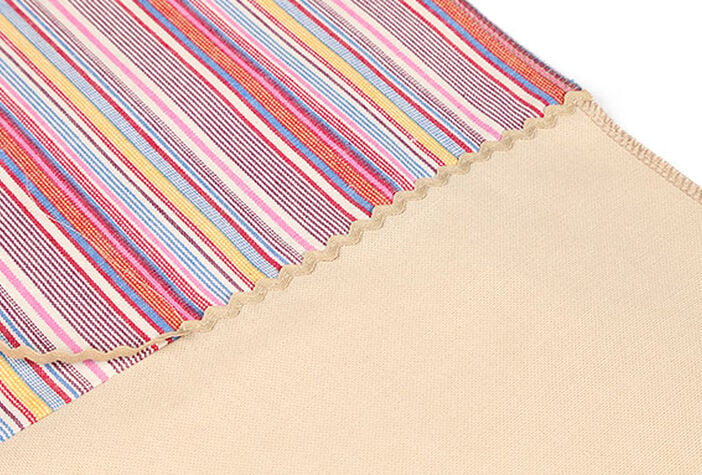
Connecting the upper and lower bodies
Sew the plain coloured bottom section to the main body of the bag. Iron your seam allowances flat. You may want to decorate this seam with lace, rickrack, or another decorative trip of your choice. Simply top-stitch your trim into the ditch made by the seam beneath.
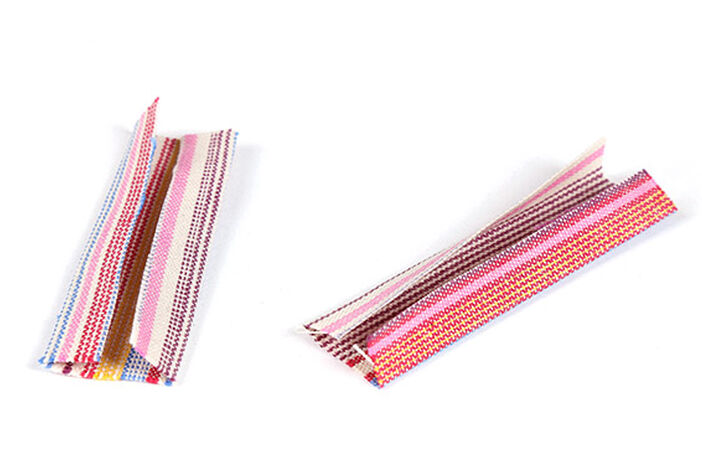
Creating the strap loops
Take your two smallest pieces and individually fold the edges of the longer sides inwards until they touch. Iron flat, then fold in half lengthwise one more time. Iron flat again. Run a line of stitching lengthwise every 2mm or so to give the loops more structural integrity.
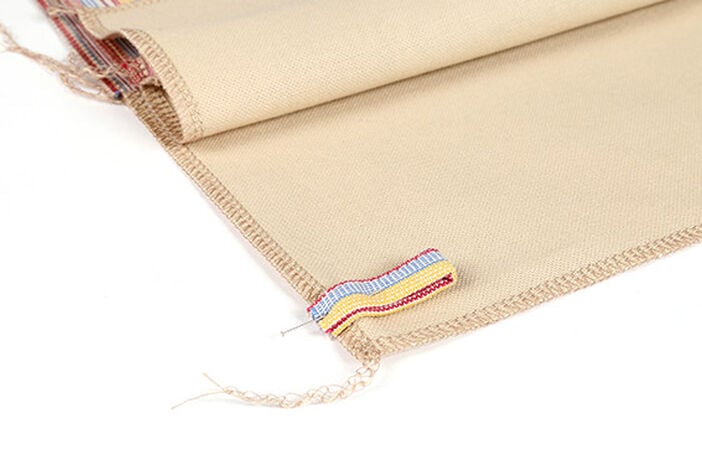
Attaching the loops
Fold each loop in half and pin to either side of the bag about 2cm from the bottom edge of the plain coloured section. You can also stitch the loops in place if you're not certain your pins will keep everything secure.
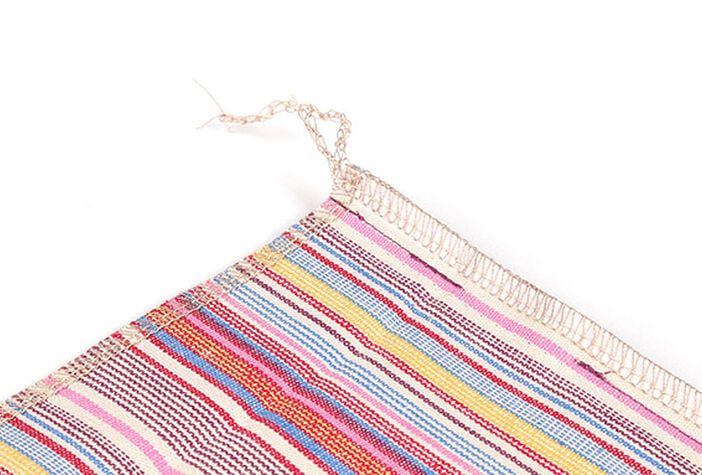
Sewing the body
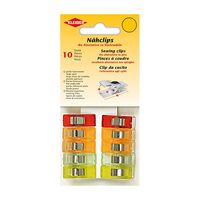
Now take both main pieces and lay them right sides together. Fix with pins or fabric clips to avoid slipping. Now stitch together: start at the upper side corner, stitch 4 cm and lock stitch. Now position your needle 3 cm further down (lock stitch again) and finish the side seam, enclosing the loops (on top of the loops, back stitch a couple of times as they have to withstand the weight of the bag). Repeat on the other side and stitch the bottom edge.
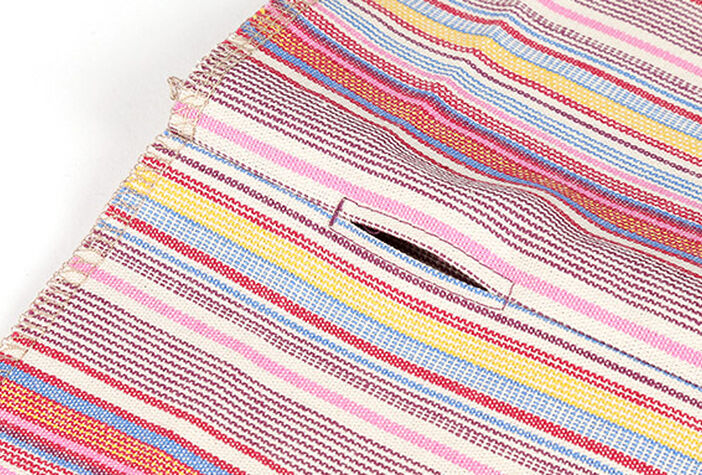
Opening for the cords
Press seam allowences of the side seams open. Now stitch around the openings for the cords (as shown).
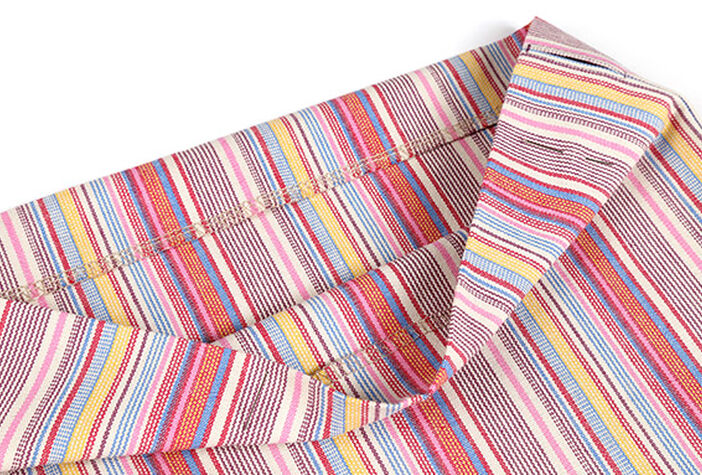
Creating the tunnel for the drawstring
Fold the upper edge 4 cm towards the inside of the bag. Press and stitch (as shown). NOTE: Leave enough room for the thick cording!
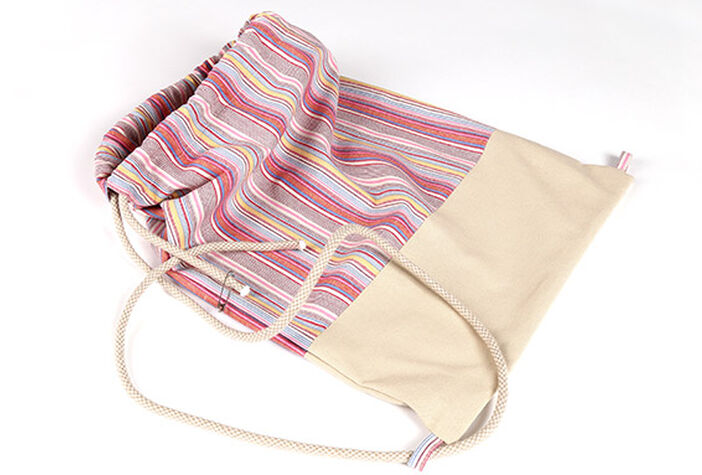
Inserting the drawstring
Fold your cording in half and cut in order to get two even pieces of cording. Now pull through the cording loop and the loops on the lower edge as shown (use a safety pin at the edge of your cording).
Repeat on the other side.
Connect the ends of the cording by making a knot.
Your drawstring backpack is ready!


