Sewing a lunch Bag
Description
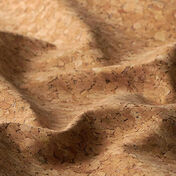
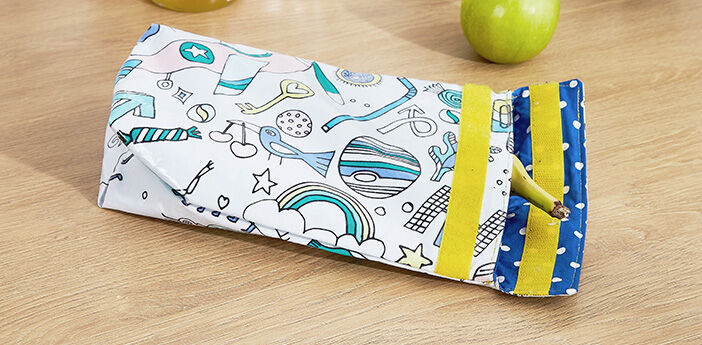
The lunch bag is your children's new breakfast friend! With some oilcloth and velcro, it's easy to create a sustainable alternative to sandwich bags and lunch boxes. Thanks to the coated material, the bag can be washed and reused after use. The advantage over classic lunch boxes: fold the bag to save space when it is empty. Perfect for full school bags!
You'll Need:
Instructions
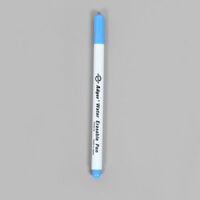
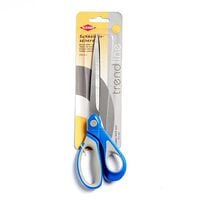
- Transfer the pattern pieces to the fabrics: You will obtain a large pattern piece of top fabric, a large pattern piece of lining fabric and one rectangle repectively for the flap made of top and bottom fabric.
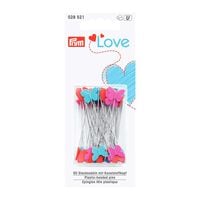
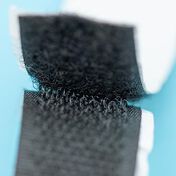
- Pin and sew on the Velcro strips according to the markings in the pattern.
- Place the cut pieces for the flap right sides together and overlap with a 0.5 cm seam allowance. Leave the bottom edge open and turn the flap over.
- Cut out the bottom corners in the outer fabric and lining fabric, place each right sides together in the fold and close the side edges. Iron the extra allowances apart.
- Pin the open edges on the bottom of the bag together and close.
- Then pull the pocket and the lining right sides together and pin together at the top edge of the pocket, sew one side together.
- Now turn the pocket over and push the lining into the pocket.
- Fold the seam allowances inwards on the side with the turning opening and join the flap here. Topstitch the flap and the pocket opening all around. Finished!


