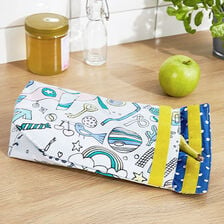
Sewing instruction Bean Bag

Description
This Bean Bag is not only a cosy place to sit on while reading or playing, it is also the perfect opportunity to just to relax. And don't worry, this sewing instruction is perfect for beginners so you can create your own Bean Bag in no time! Enjoy this amazing project.
You'll Need:
Besides, you need styrofoam beads to fill your bean bag. You'll need approximately 70 liters with a bead size of 1-3 mm.
Cut
Cut:
- bedlinen zipper: 25cm
- piping tape: 4m
- 2x inner fabric: 110 cm x 85 cm
- 2 different outer fabrics: 110 cm x 85 cm
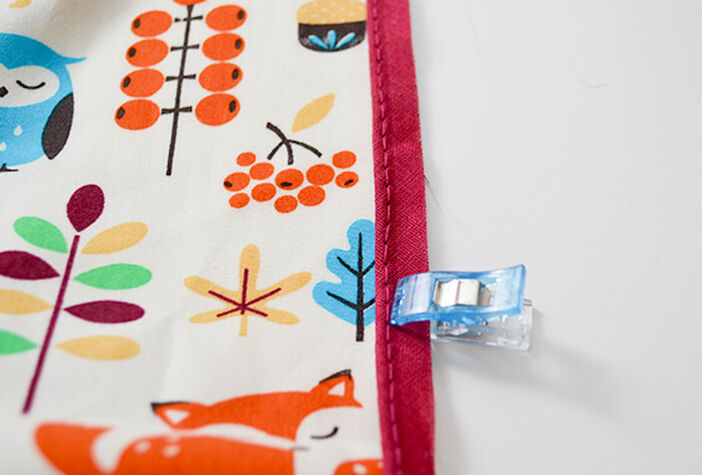
Sew on piping tape - start with the patterned outer fabric and fix the piping tape onto the edges (the open edge should face the outside). Leave 3cm when starting and use a zipper foot in order to get close to the piping seam.
Notch Corners
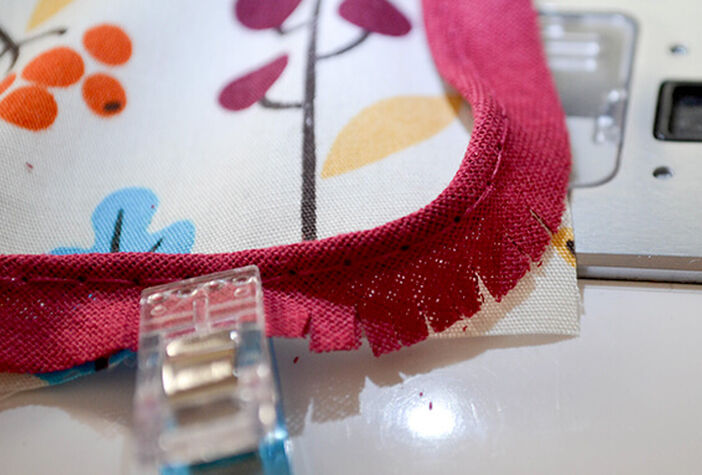
Shortly before you reach the corner, knotch the piping tape in order to bend it properly (make sure you don't cut into the piping seam).
Shorten piping ribbon
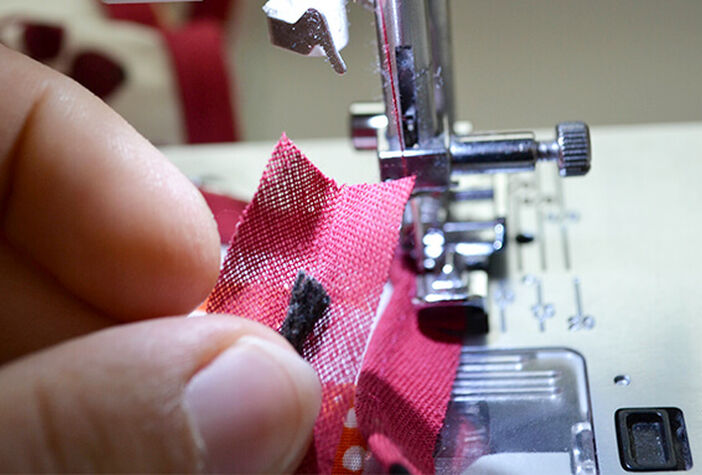
When you reach the end, open the seam of the piping tape a little and shorten the inner thread by 2cm.
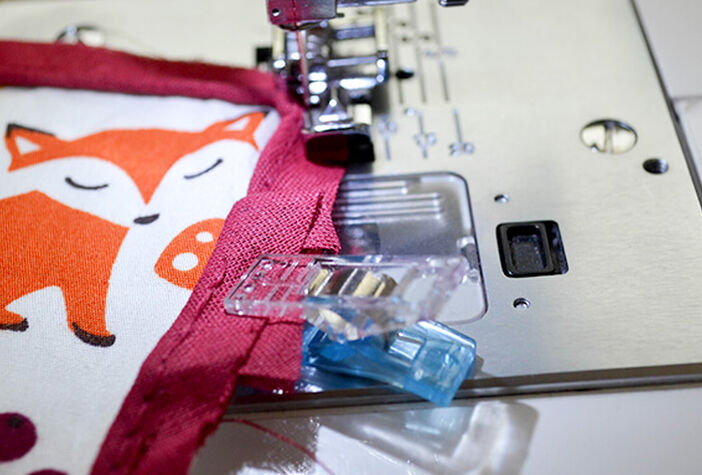
Finish piping tape
Fold the open End around the loose piece of the piping tape that you left loose in the beginning. Stitch onto the fabric.
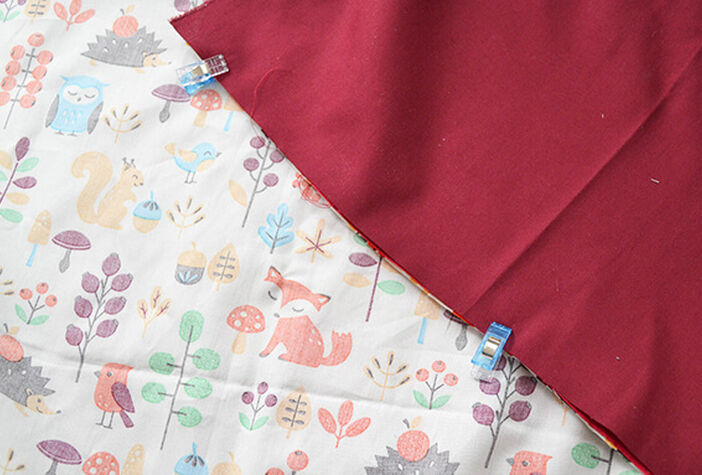
Sew the outer parts
Take the outer fabric pieces and lay them (right sights facing) together. Fix with pins or clips.
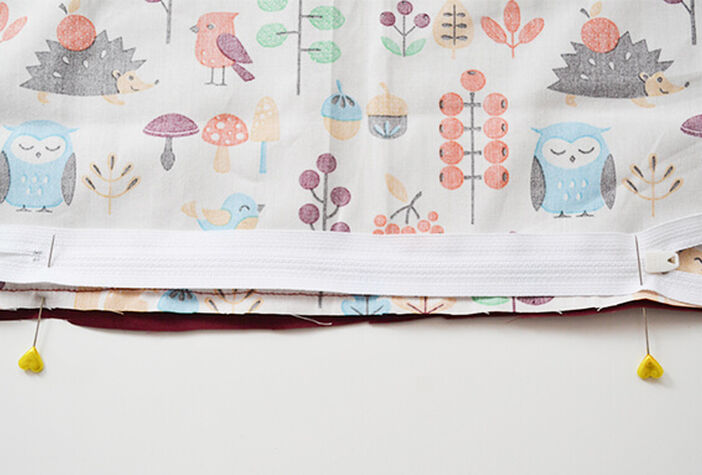
Sew the outer parts
On the lower edge mark the width of the zipper with two pins and stitch the marked part with a wide stitch (leave the pins in place or mark the two spots with other means). Also close the other parts of the lower edge and 10cm on each side seam. Press the seam open.
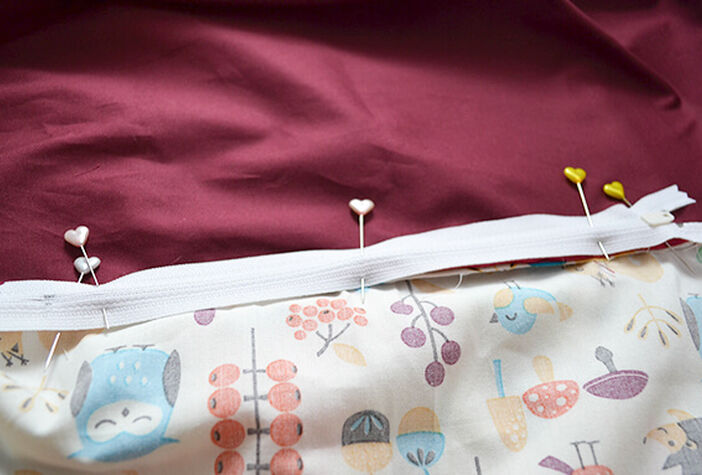
Putting in the zipper
Lay the zip on top of the seam (between the marked spots) and fix with pins. Now stitch the zipper, using a zipper foot.
Turn
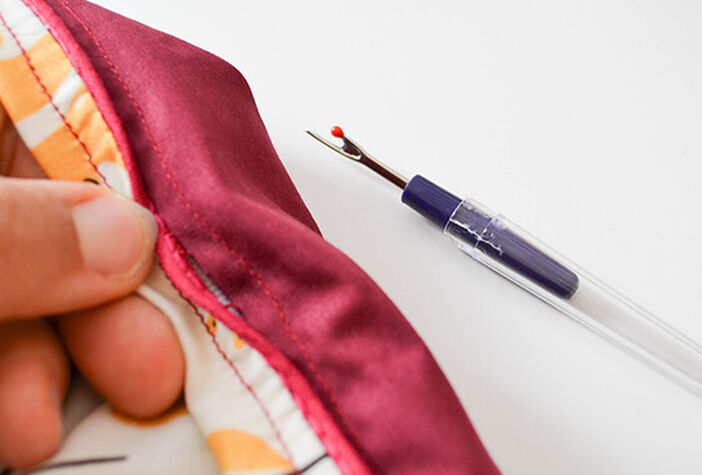
Turn the fabric right side out and unpick the wide-stitched seam that coveres the zipper. Open the zipper for the next step.
Sew the outer bag
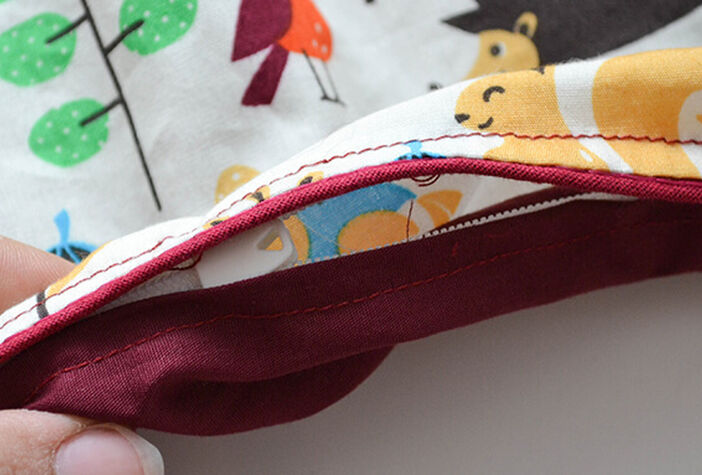
Turn the fabric back so that the right sides face each other again. Fix all edges and stitch together. When all the remaining edges are closed, use the open zipper to turn the whole bag right side out.
Sew the inner bag
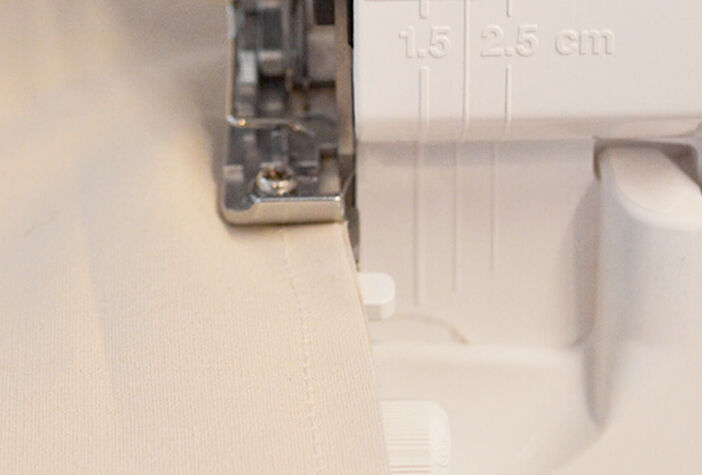
Lay the two pieces together (right sides facing) and stitch the edges together. Leave a gap to turn of 25-30cm at the bottom.
Turn the inner bag
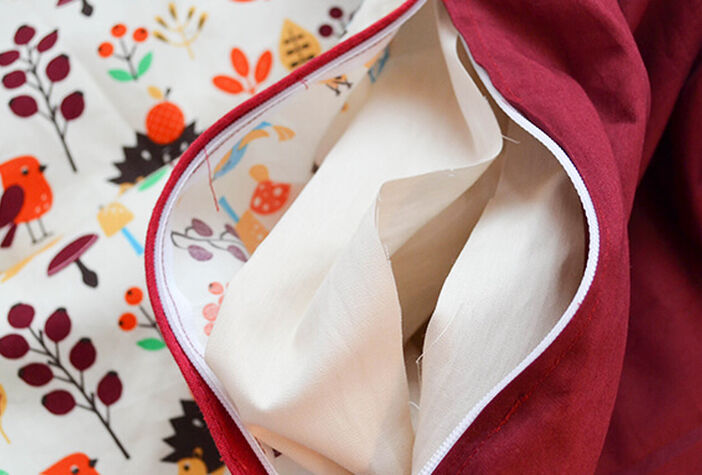
Turn the inner bag right sight out and tuck it into the outer bag (right side of the inner bag facing the wrong side of the outer bag). The openings of the outer and inner bag have to be on the same side.
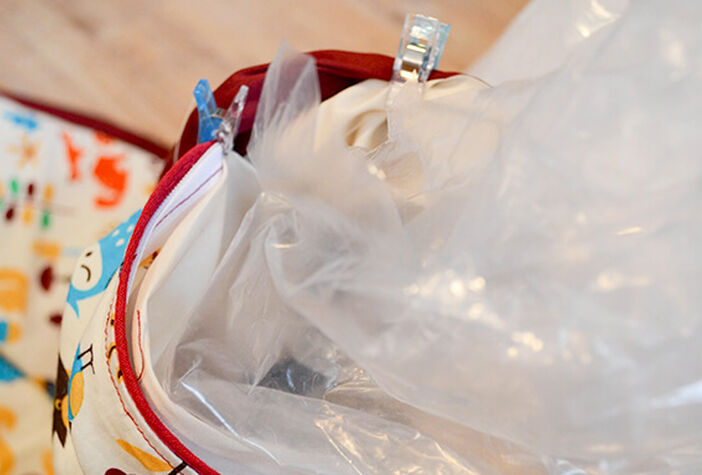
Filling
Fill the inner bag with the polystyrene beads.
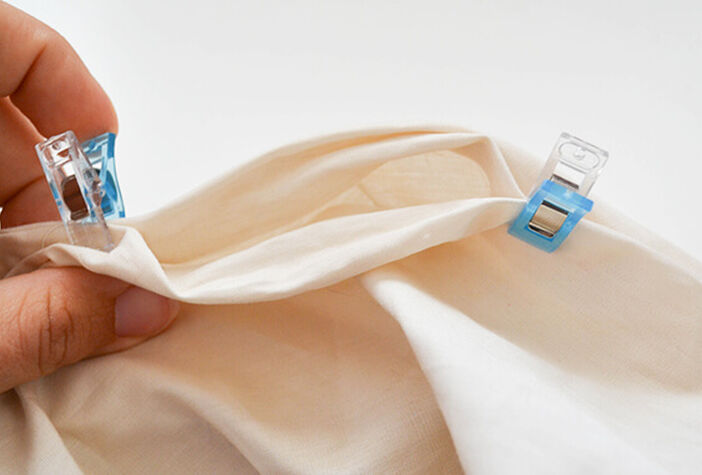
Finishing
Now you have to close the the opening of the inner bag. This can be tricky, as the bag is already filled. It helps if you put your sewing machine on the floor and sew slowly. Just pin the open edges together and stitch.
Now your cool bean bag is ready!


